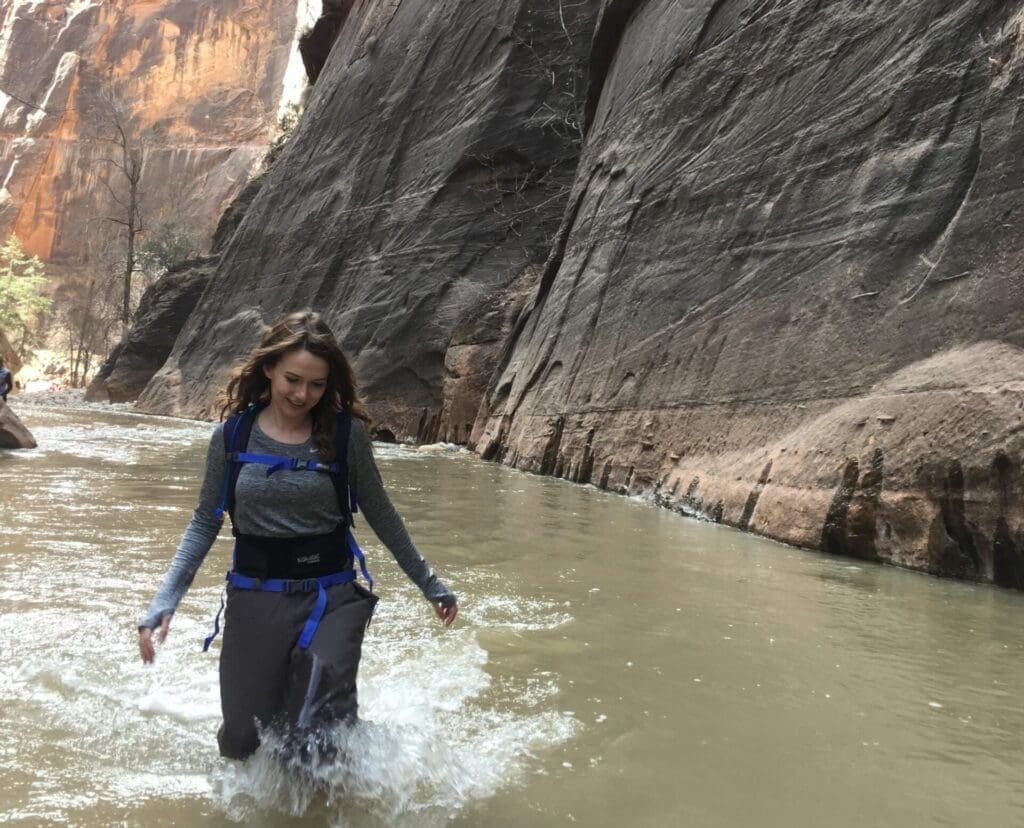
One of the best weekend road trips I’ve ever taken was a short getaway to Zion National Park in Utah in March. There are a plethora of hikes to choose ranging from family friendly half mile hikes to more adventurous overnight hikes. With only a day to spend there, I had to chose wisely and decided to do possibly one of the most unique and legendary hikes that Zion has to offer–The Narrows, which is section of canyon through which the Virgin River runs. The entire hike takes place in water! Yes, you read that correctly, you hike through the narrow canyon in water.
In March, which is when I hiked The Narrows, the water level is much higher from the snow melt and is obviously very cold, but I find it to be the best time to go. There are many places in the world where you can hike to the top of mountains and through canyons, but there aren’t too many where you can actually hike in a river alongside terracotta colored canyon walls that seem to touch the sky. The Narrows is truly a life changing hike and one for the bucket list.
Table of Contents
When to Go
As with any hike, some planning is necessary to ensure the best possible experience. A good place to start is asking yourself want do you want out of this hike? There are two ways to do it: Top to bottom and bottom-up.
Top to bottom is a 16 mile hike that can be done in a single day by experienced and athletic hikers, but is usually split up between two days with an overnight stay at a designated campsite. A permit is required whether you do it in a single day or camp overnight. Bottom-up is a 10 mile round trip day hike that can last as long or as short as you like. No permit is required. The top to bottom hike closes during the winter due to accessibility issues, which left me with the bottom-up option.

I personally prefer the bottom-up hike during the off season (Mid-November to Mid-March) for several major reasons:
- Less crowded
The Narrows become ridiculously crowded during the summer months. In late winter, I was able to travel long stretches without a single other hiker crossing my path, which meant no one was there to disturb my photography and the whole experience was much more peaceful.
- More Accessible
During the off season, you can drive and park your car at the head of the trail. As soon as March 15th comes around, you have to take a shuttle into the park. This goes the same for the top to bottom hike. Although it may not bother some people, I like having my car at the head of the trail. Although from the parking lot, you still have to hike the Riverside Walk trail for a mile to get to the head of The Narrows where you officially begin the hike.
- Customizable
With the top to bottom hike, you have to hike through to the very end. The bottom-up hike, on the other hand, is as long as you want it be– whether you want the entire way or just 2 miles then turn around. It’s the preferable option for less experienced hikers, as hiking in water is a fun experience, but not without its unique challenges.

Preparation
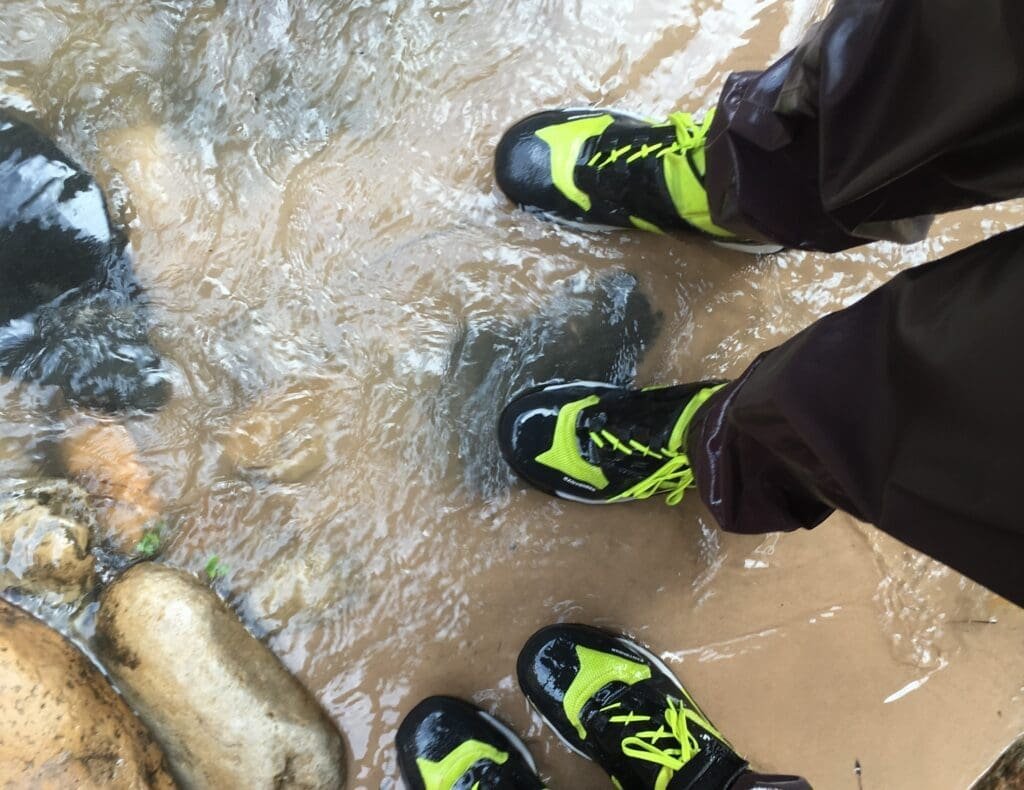
During the warm summer months, many hikers do the hike in regular shoes and shorts. However, during the off season, it is highly recommended that you rent waterproof shoes and dry pants or a dry suit. I went with the dry pants and shoes only since I was cheap, but I got away with it (barely). Most of the other hikers that day chose to rent the entire dry suit, while few attempted to brave the frigid waters without any rented gear (big mistake, as hypothermia is common under these conditions).
Very Useful, But Not Necessary
The one piece of equipment that we forgot to pick up was trekking poles. I guess my best friend and I were too excited to get out there because it totally slipped our minds. We soon figured out their importance as soon as we got out there. The river bottom is an extremely uneven mixture of rock and sand with sudden drops. Trekking poles would have allowed us to predict the depth of the water before each step.
Luckily for us, we didn’t mind going from ankle deep water to waist deep water in a single, unexpected step. It was fun and crazy and dangerous, but that’s life in your twenties, isn’t it? There were only two occasions where each of us completely fell into the freezing water, so we didn’t suffer too much from our lack of proper equipment, it just would have made the hike a bit easier and possibly drier.
There are several gear shops from which you can rent your gear. We went with Zion Rock Guides, spending $48 per person for dry pants with built in footsies as well as a pair of 5.10 Canyoneers.
What to Bring
- Hydration Pack or Water Purification System
- Layers
I started with a long sleeve top, halfway through went down to a sports bra, and then put on two long sleeved layers on the way back. The canyon walls block out the sun in the morning and late afternoon, causing the temperature to drop.
- Snacks
- Dry Bag, Ziplock bags, or even garbage bags.
- Socks
Even though you may be wearing waterproof pants, it’s cold and you’ll be able to feel it. Changing socks gave my feet a warm boost half way through the hike. Looking back, I probably could have worn double socks to keep my feet even warmer.
- Waterproof gloves
I survived without them. But when I do this hike again in the future, I’ll probably bring along a pair of gloves. Towards the end of the hike when the sun left the canyon, it got so cold, so quickly that my hands started to feel numb from the cold.

Words of Advice
There is no cell phone signal within the canyon. I knew this ahead of time, but neglected to switch my iPhone into airplane mode. My battery couldn’t have drained any faster. If you don’t want to be left with a dead cell halfway through your hike, put it in airplane mode.
Dangerous Conditions
As I mentioned earlier, the water level is higher in winter than during the summer. Spring runoff from melting snow and monsoon rain in August may cause the water levels to rise to dangerous levels, during which the trail is closed. Flash floods are a genuine concern and can result in death if you attempt to hike The Narrows during unsafe conditions, since there is no way to get to higher ground until you exit the canyon at the beginning.
Being short and petite, I was worried about the water levels in early March. Luckily, they proved to be not too bad. The highest water I encountered was up to my waist, which got the bottom of my backpack wet. The average water level was knee and thigh high, for most of the trail. There are a few areas with dry river banks where you can rest for a bit before continuing on, which you’ll be grateful for on the way back.
The most difficult part of the trail is actually going back since the water is flowing with you. If you were in a kayak or boat, this would be a good thing, but having the flowing water trying to take you out from behind the knees the entire way back will exhaust you more than you can imagine. The next day my legs and core were sore like never before trying to keep my balance.
That being said, out of all the hikes I’ve done before and since, the Narrows in Zion is usually my top pick for favorite hike in the world. It’s such a unique and immersive hike. If you want adventure and breathtaking sights, then this is the hike for you. And if you want adventure and breathtaking sights with significantly less crowds, then go in March!

